The constant use of a microphone to communicate with allies in a team game is a necessity, without which one cannot even hope for a positive result. This is not surprising, because it will be much faster to say important information out loud than to try to quickly write something into the team chat. Today, without constant communication, it’s not even worth trying to beat some team that is stronger than the first ranks in MM. Therefore, we have collected in this material all the important instructions for setting up a microphone – after all, this is the same tool for success as a mouse.
How to set up a microphone in Windows and on a laptop in CS
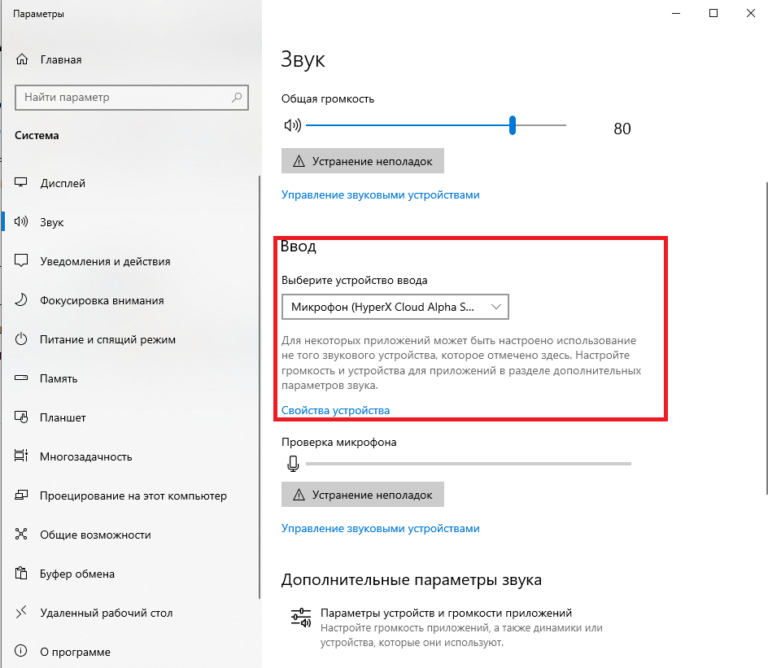
Before waiting for the game to see your device, you should make sure that the connection to the operating system was successful. To do this, go to the sound settings and find us under the “Input” menu. There we can select the microphone we have connected. If there is only one, the choice will be made by default. If there are two, you should choose the appropriate option.

It often happens that the OS refuses to see the microphone or it simply refuses to work. Then you have to start setting up by downloading the drivers.
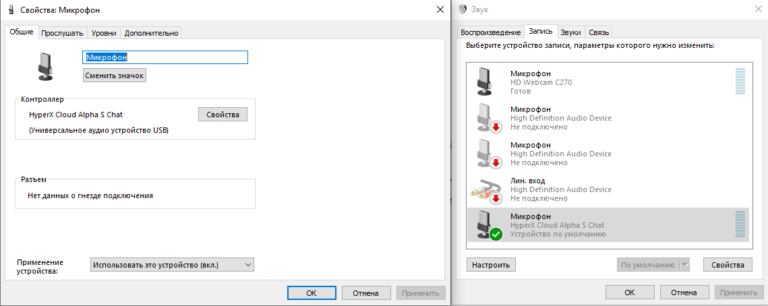
The next step is to go to the “Sounds” tab on Windows, where you also have to select a microphone. There you can also test the device and perform a preliminary adjustment of the volume, frequency and noise reduction.

How to set up a microphone in CS:GO
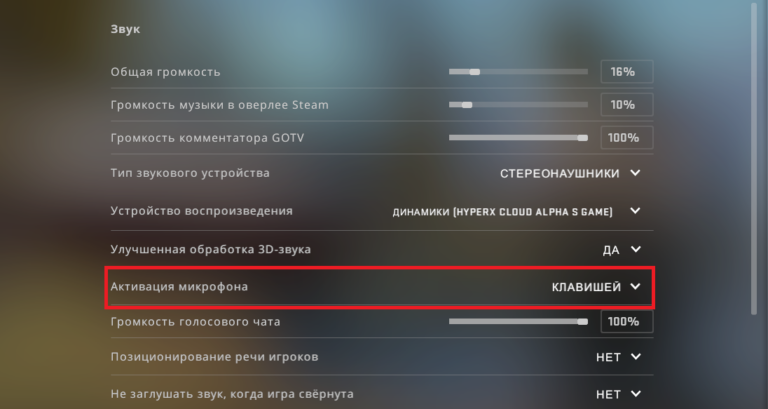
In the game itself, you should start by selecting the mode in which you want the microphone to work. To do this, go to the settings and find the subsection with sound. There we set the preferred microphone activation mode – it can be voice and using a key. It is recommended to choose the second option, as it is more practical and will help to avoid unwanted clogging of the air in a difficult situation on the map.

Next, select the button, pressing which will activate the conversational chat. This parameter is set in the control settings, it will be easy to find it there. It is only important to choose the right key so that it can be comfortably used in parallel with other game actions.
Microphone setup via CS:GO console
With the help of fine console settings, you can more accurately understand exactly how your teammates will hear you. We recommend knowing and using the following set of console commands that set certain parameters:
- voice_loopback 1. With its help, you can independently test how your teammates hear you.
- voice_scale [0.01 – 0.99]. Adjusting the voices of the players who are currently on the server.
- voice_overdrive [10 – 150]. With this command, you can partially suppress extraneous sounds heard when talking to other players on your team.
- voice_fadeouttime [0.001 – 0.999]. Controls how long the voice fades out after the talk key is released.
Why doesn’t the microphone work in CS:GO
If you experience problems with the microphone, you should look into the reasons that may have led to the failure. First of all, you should check the connection of the device to a personal computer, its integrity and performance. If everything visually seems to be working, it remains to look for a problem in the system component.
Cause 1. Lack of sound drivers.
This is a very banal, but quite common mistake. Fortunately, it takes just a few minutes to fix it. You just need to understand what kind of sound device you have and download the appropriate software.
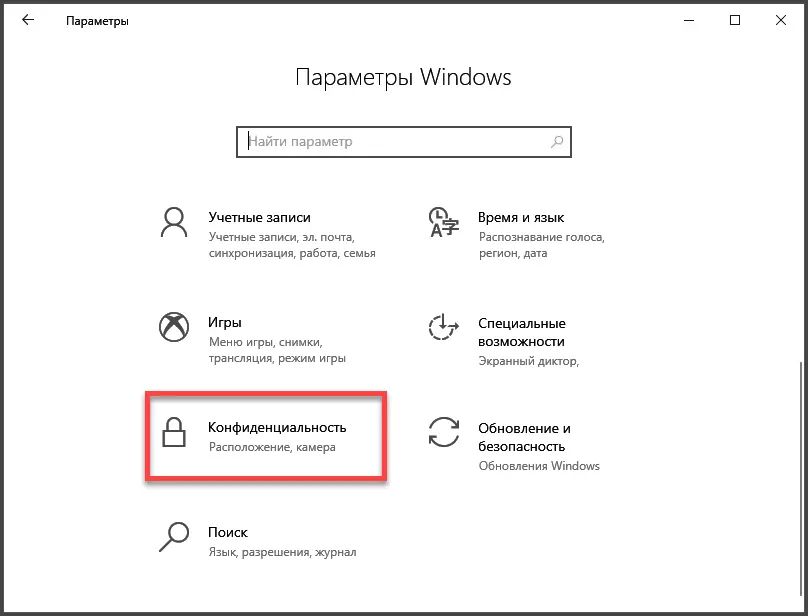
Cause 2: No access to the microphone.
To check this problem, go to the Windows settings and find the “Privacy” submenu there.

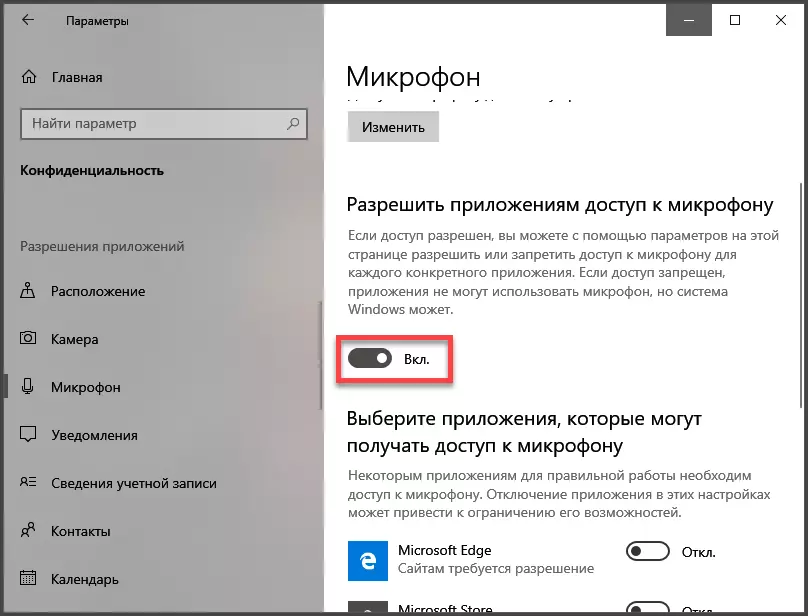
There we find and select the “Microphone” sub-item and simply move the slider to the on state, thereby opening access to the microphone.
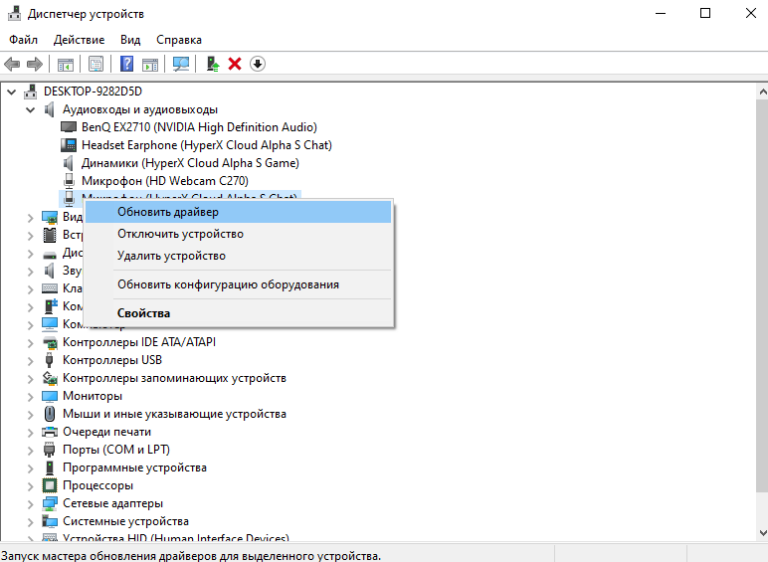
Cause 3. Outdated drivers.
It happens that drivers are not updated automatically and you have to perform all the actions yourself. To do this, go to the “Device Manager” and find the “audio inputs and audio outputs” tab there. In the list that opens, we find the microphone we need and right-click on it, click “Update driver”.